To screen record on a Chromebook, press Shift + Ctrl + Show Windows, click the video camera icon to switch from screenshot mode to Screen record, choose full screen, a partial area, or a single window, and click to start. Stop with the red Stop button in the shelf, or press Search + Shift + X. The recording saves to the Downloads folder as a .webm file. You do not need to install anything, because every Chromebook running ChromeOS 89 or later has a screen recorder built in.
That short answer covers most cases. The rest of this guide covers each method in full, plus what to do when the record button is missing, when there is no sound, and when you cannot find the file.
If you only need one quick recording for a class, a bug report, or a how-to message, Method 1 is all you need. If you record often, read the comparison near the end first, because the right method depends on whether you need sound, a GIF, or editing afterwards.
The Short Answer: Record in 30 Seconds
- Open the tool: press Shift + Ctrl + Show Windows.
- Switch to video: click the video camera icon at the bottom of the toolbar.
- Choose what to capture: full screen, a partial area, or a single window.
- Start: click anywhere on the screen, or click the Record button in the middle of your selection for a partial recording.
- Stop: click the red Stop button in the shelf at the bottom right, or press Search + Shift + X.
- Find the file: open the Files app and look in the Downloads folder. The file is a .webm video.
The toolbar opens in screenshot mode by default, so the step people miss most often is the video camera icon. If you press the shortcut and only see screenshot options, you are in the right place — you just need to switch to video first.
The Show Windows key sits on the top row of the keyboard, above the 6, and looks like a rectangle with two lines beside it. On a keyboard without that key, use Ctrl + Shift + F5 instead. You can also open the same tool from Quick Settings: click the clock at the bottom right, then choose Screen capture.
Before You Start
A little preparation saves a re-record, because the built-in recorder has no pause button and no editor. Once you stop a recording, the file is finished. If something goes wrong halfway through, the only fix is to record again from the beginning.
- Check your version: the built-in recorder needs ChromeOS 89 or later. If the record option is missing entirely, your Chromebook may be running an older version.
- Close what you do not need: close extra tabs and windows, and turn off notifications, so nothing private or distracting pops up during the recording.
- Decide about sound first: audio is set before you start recording, not during it. If you need your voice, a video’s sound, or both, set that in the toolbar’s Settings gear before you press record. Method 2 explains this in detail.
- Check your storage: recordings save locally to the Downloads folder, so make sure there is room on the device, especially on a Chromebook with a small drive.
- Know what is on screen: a screen recording captures exactly what is visible, including open tabs, messages, and file names. Check the screen once before you start, the same way you would before sharing a screenshot.
- School or work device: if the Chromebook is managed by a school or an employer, recording may be blocked by an admin policy. If the record button is missing or greyed out, that is the most likely reason, and only an administrator can change it.
Method 1: Record With the Built-In Screen Capture Tool
This is the fastest method, and it is the one most people should use. The Screen Capture tool is built into ChromeOS, so there is nothing to install, no account to create, and no extra app to open. It is also the same tool you use to take a screenshot on a Chromebook, so if you already know the screenshot shortcut, you already know most of this method.
Follow these steps:
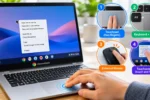
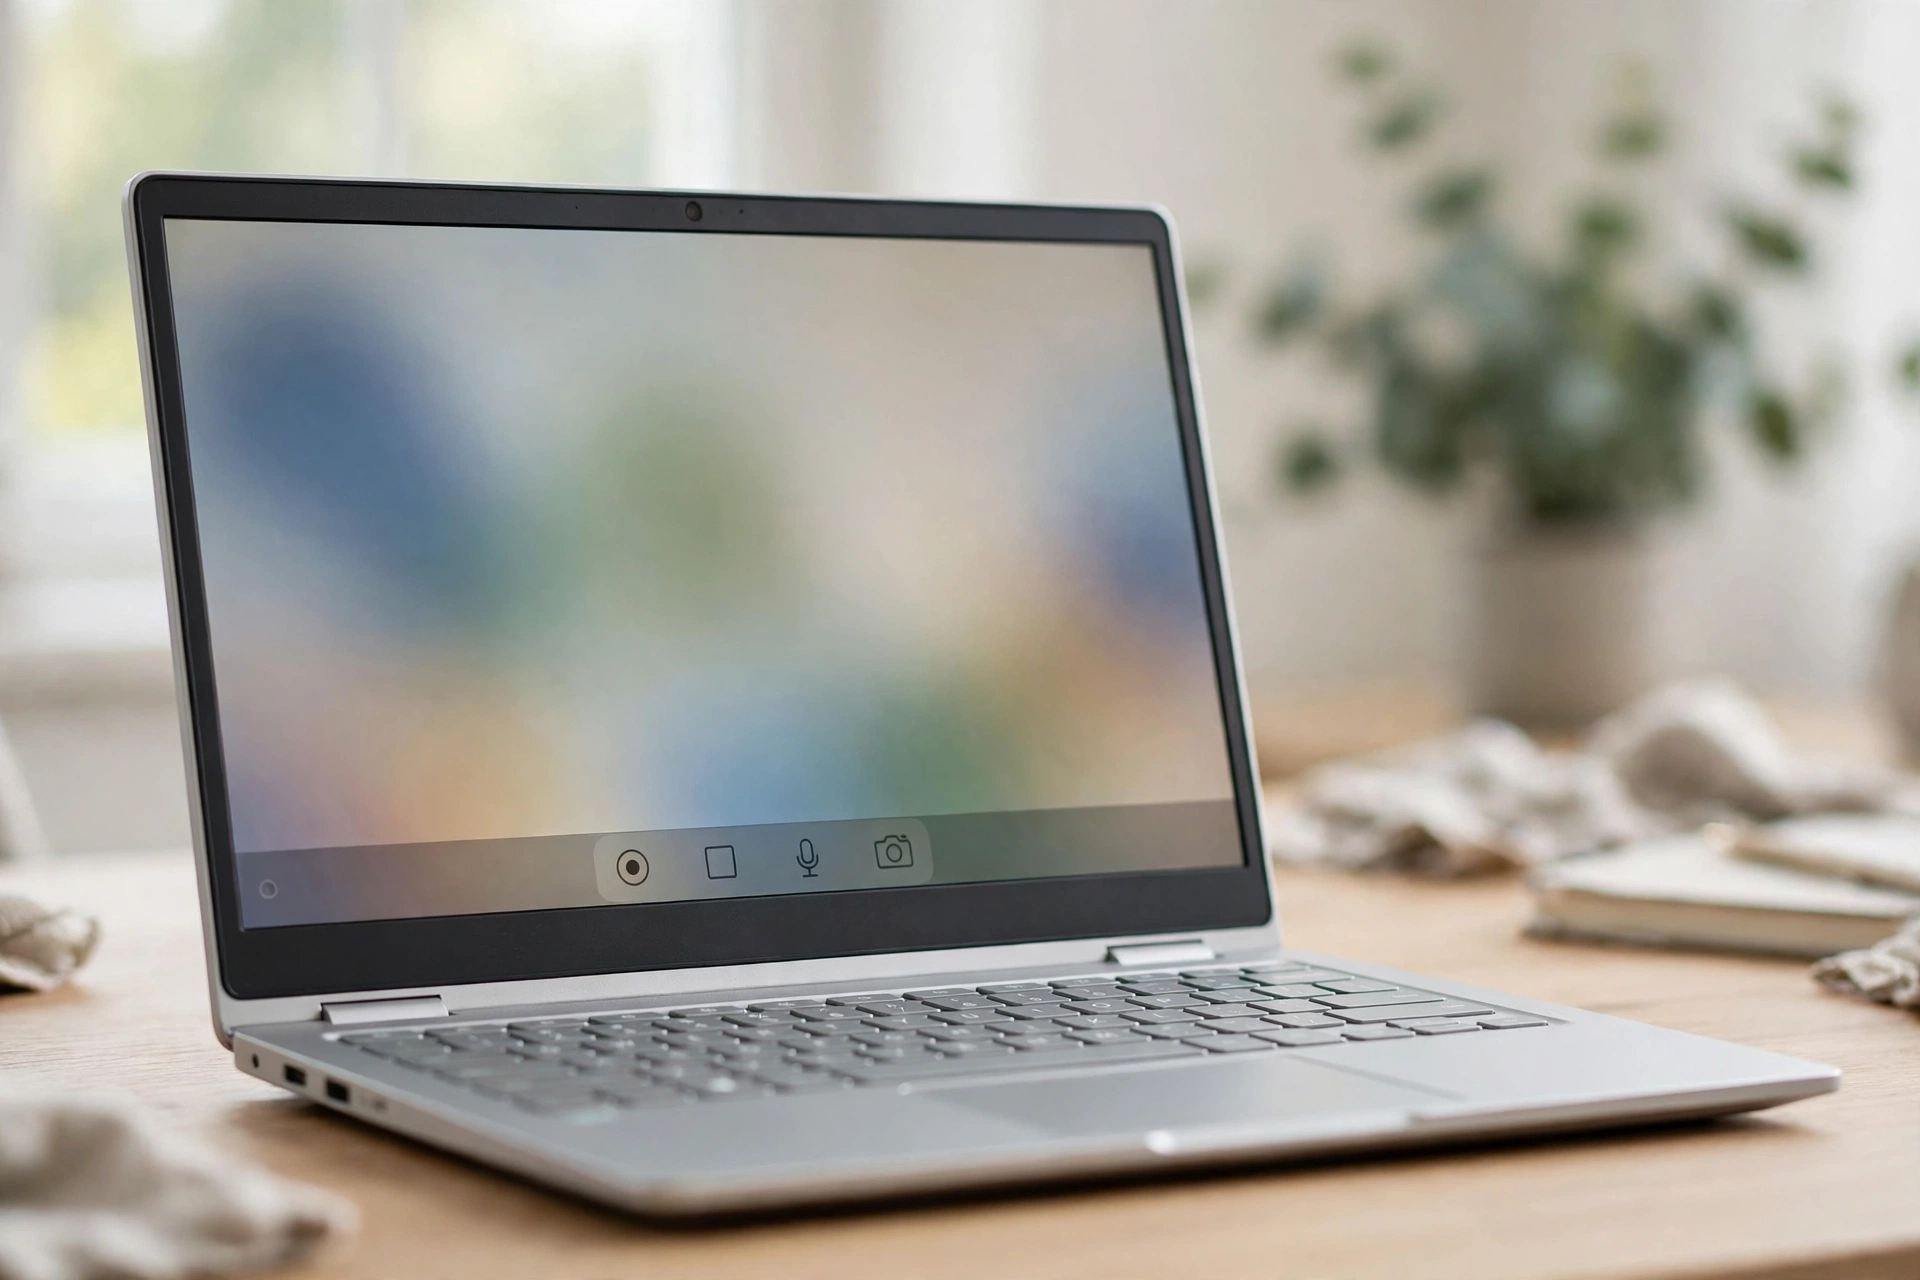
- Press Shift + Ctrl + Show Windows. The Screen Capture toolbar appears at the bottom of the screen.
- Click the video camera icon to switch to Screen record. The toolbar opens in screenshot mode by default, so do not skip this step.
- Choose what to record. Full screen records everything on the display. Partial screen lets you drag a box around one area. Window records a single window only.
- If you chose a partial area, drag the box around the part of the screen you want, then click the Record button in the middle of your selection.
- If you chose full screen or a window, click anywhere on the screen to start.
- Record what you need to show. A small red recording indicator appears in the shelf while the recording is running.
- To stop, click the red Stop button in the shelf at the bottom right, or press Search + Shift + X.
When you stop, the recording saves to the Downloads folder as a .webm file. A copy is also placed on the clipboard, so you can paste it straight into a document or a message without opening the Files app first. If you want to paste something you copied earlier instead, the clipboard on a Chromebook keeps your recent copies, and you can open it with the Search key plus V.
The .webm format plays in Chrome and in most modern video players, and you can upload it to Google Drive, YouTube, or a classroom app. If the place you want to share it needs a different format, you will need a converter, because the built-in recorder only saves .webm video.
This method is best for a quick, plain recording — showing a teacher what went wrong, recording steps for a colleague, or capturing a short clip for support. For sound, GIFs, or a more polished result, use one of the methods below.
Method 2: How to Screen Record on Chromebook With Audio
By default, the built-in recorder captures the picture but not necessarily any sound. If you record a lesson, a presentation, or a video call without changing the audio setting first, you may end up with a silent video. The fix is simple, but it has to happen before you press record, because the audio setting cannot be changed while a recording is running.
Open the recorder with Shift + Ctrl + Show Windows, then click the video camera icon to switch to Screen record. Before you choose an area or start recording, click the Settings gear in the capture toolbar. There you will find the audio options.
- Microphone: records your voice through the Chromebook’s built-in microphone or a connected headset. Use this when you are narrating steps or explaining what is on screen.
- Device audio: records the sound the Chromebook itself is playing, such as a video, a song, or a call. Use this when the sound on screen matters and your voice does not.
- Device audio and microphone: records both at the same time. Use this when you are talking over a video or a presentation.
After choosing the audio option, pick full screen, a partial area, or a window, and click to start recording, exactly as in Method 1. Stop with the red Stop button in the shelf, or press Search + Shift + X, and the file saves to the Downloads folder as a .webm video, with the audio included.
Two things are worth knowing before you rely on device audio. First, the option may not appear on every Chromebook. Device audio support depends on the hardware, and it is available on newer Chromebooks, roughly those running ChromeOS 124 or later. On an older device you may only see the microphone option. If Device audio is missing from your menu, your Chromebook likely predates that support, and the reliable way to capture the sound a tab is playing is a Chrome extension recorder that handles its own audio.
Second, test the sound with a short trial recording before you record anything long. Record ten seconds, talk for a few seconds, play a short sound, stop, and play the file back. That one test catches the two most common problems — the microphone being off, and the wrong audio source being selected — before they cost you a full recording.
A headset usually gives a clearer voice recording than the built-in microphone, because it sits closer to your mouth and picks up less room noise.
Method 3: How to Record a GIF on a Chromebook
A short looping GIF is often better than a video when you need to show a quick action in a message, a document, or a support ticket. A GIF plays automatically, needs no player, and shows the steps without the reader having to press play. The built-in recorder can make one, but only in one mode.
GIF recording only works in partial screen mode. You cannot record a GIF of the full screen or of a whole window. Keep the clip short, because a GIF of a long recording becomes a very large file.
- Press Shift + Ctrl + Show Windows to open the Screen Capture toolbar.
- Click the video camera icon to switch to Screen record.
- Choose the partial screen option.
- Drag a box around the area you want to capture. Keep the box as small as the action allows, because a smaller area makes a smaller file.
- In the toolbar, choose the GIF option instead of video. The recording will save as a GIF file rather than a .webm video.
- Click the Record button in the middle of your selection to start.
- Stop with the red Stop button in the shelf, or press Search + Shift + X. The GIF saves to the Downloads folder.
Use a GIF when the action takes only a few seconds — a menu opening, a button being clicked, or a setting being changed. Use a normal video when the steps take longer, when sound matters, or when the reader needs to pause, because a GIF has no sound and no pause control.
Method 4: Record With the Screencast App
Screencast is Google’s more advanced recording tool for ChromeOS, and it is available on Chromebooks running ChromeOS 104 or later. It is a separate app from the Screen Capture tool, and it is aimed at teachers and anyone who records lessons or presentations regularly.
To use it, open the app launcher and look for Screencast. If it is there, open it, choose what to record, and follow the on-screen steps. The app records the screen and can include your face in a small circle on screen, which is useful for a lesson or a walkthrough where the viewer should see the person explaining.
If you do not see Screencast in your launcher, your administrator may have disabled it. This is common on school or work Chromebooks, where the admin controls which apps are available. On a personal Chromebook, check that the device is running ChromeOS 104 or later.
Screencast is the better choice when you record lessons often and want a slightly more polished result than the plain Screen Capture tool gives. For a one-off recording, the built-in tool is faster.
Method 5: Record With a Chrome Extension (Screencastify)
If the built-in tool cannot do what you need, a Chrome extension is the next step. Screencastify is a popular Chrome extension for screen recording, especially in education, and it is widely used by teachers to record lessons. It adds features the built-in recorder does not have, such as editing and sharing options, and it can capture tab sound on devices where the built-in device audio option is missing.
To use it, install Screencastify from the Chrome Web Store, open it, choose what to record, and follow its steps. Because an extension like this can see what is on your screen, check the extension’s permissions before installing it, and only install it from the official Chrome Web Store, not from a link in a message or an unfamiliar website.
Keep two safety habits in mind with any recording extension. First, if you stop using it, remove third-party app access from your Google account so the extension no longer has access it does not need. Second, if you share the Chromebook with anyone else, keep track of the devices logged into your Google account, so you know where your account is signed in.
An extension is worth installing when you record often, need to edit a recording, or need to capture tab sound on an older Chromebook. For a quick one-off recording, the built-in tool is simpler.
Which Method Should You Use?
The five methods overlap, so the choice comes down to what the recording needs to include.
| Method | Best for | Audio | GIF | Needs installing |
|---|---|---|---|---|
| Built-in Screen Capture | Quick, plain recordings | Microphone, and device audio on newer Chromebooks | Yes, partial screen only | No |
| Built-in with audio | Lessons, narration, video sound | Microphone, device audio, or both | No | No |
| GIF recording | Short actions in a message or ticket | No sound | Yes | No |
| Screencast app | Lessons and presentations | Through the app | No | No, but ChromeOS 104 or later |
| Screencastify extension | Frequent recording, editing, tab sound | Through the extension | Depends on the extension | Yes, from the Chrome Web Store |
If you are unsure, start with the built-in tool. It handles most recordings, it is already on the device, and you can move to Screencast or an extension only if you find something it cannot do.
Where Your Recording Is Saved and How to Find It
Every recording from the built-in tool saves to the Downloads folder as a .webm file, and GIF recordings save to the same folder as GIF files. To find a recording, open the Files app, click Downloads in the left-hand column, and look for the newest file. The file name includes the date and time, so the most recent recording is usually at the top when the folder is sorted by date.
A copy of the recording is also placed on the clipboard when it finishes, so you can paste it directly into a document, an email, or a message. If you paste and nothing appears, the clipboard may have been cleared by a restart, so go to the Downloads folder and attach the file instead.
If you cannot find the file, check three things. First, make sure the recording actually stopped — if the red indicator is still in the shelf, the recording is still running and no file has been saved yet. Second, check that you are looking in Downloads, not in Google Drive or another folder. Third, check the file type: the built-in recorder saves video as .webm, not as a common video format, so sort the folder by date rather than looking for a familiar file ending.
Once you have the file, move it to Google Drive for safekeeping, because files in Downloads are stored locally and are lost if the Chromebook is reset.
Troubleshooting: When Recording Does Not Work
The record button is missing or greyed out
The most common reason is that the Chromebook is managed by a school or an employer and the administrator has blocked screenshots and recording. Ask your school or workplace administrator whether recording is allowed on the device. On a personal Chromebook, check that the device is running ChromeOS 89 or later, because the built-in recorder needs that version. Restarting the Chromebook is also worth trying, because a stuck system process can hide the toolbar until a restart.
The recording has no sound
This almost always means the audio setting was not changed before recording started. Open the recorder, click the Settings gear in the capture toolbar, and choose Microphone, Device audio, or both before you press record. If Device audio is not in the menu at all, the Chromebook may be too old for that feature, and only the microphone will be available. Do a ten-second test recording and play it back before recording anything long.
The recording stops or never saves
A recording stops if the Chromebook runs low on storage, because the file is written locally. Free space by moving old files to Google Drive or deleting files you no longer need, then try again. If you closed the lid or signed out while recording, the file may not have finished saving.
The file is not in Downloads
Check that you are looking in the Downloads folder in the Files app, and sort by date so the newest file is first. Remember that the file is a .webm video, or a GIF if you chose the GIF option, so it may not have the file ending you expect. If a copy was placed on the clipboard when the recording finished, you can also paste it into a document to check that the recording exists.
Screencast is not in the launcher
Screencast needs ChromeOS 104 or later, and it may be disabled by an administrator on a school or work device. If it is not there, use the built-in Screen Capture tool instead, which needs no separate app and works on ChromeOS 89 or later.
The recording is too big to share
Long recordings make large files. Record only what you need, keep the capture area as small as the task allows, and use a GIF only for clips of a few seconds. For a long lesson, break it into shorter recordings rather than one long file, and upload the file to Google Drive and share a link instead of attaching the whole file to a message.
Frequently Asked Questions
Can I screen record on a Chromebook without installing anything?
Yes. Every Chromebook running ChromeOS 89 or later has a built-in screen recorder in the Screen Capture tool. Press Shift + Ctrl + Show Windows, click the video camera icon, choose what to capture, and click to start. The recording saves to the Downloads folder as a .webm file.
Where do screen recordings go on a Chromebook?
Recordings from the built-in tool save to the Downloads folder as .webm files, and GIF recordings save to the same folder as GIF files. Open the Files app, click Downloads, and sort by date to find the newest recording. A copy is also placed on the clipboard when the recording finishes.
How do I screen record on a Chromebook with sound?
Open the recorder with Shift + Ctrl + Show Windows, click the video camera icon, then click the Settings gear in the toolbar before you start recording. Choose Microphone for your voice, Device audio for the sound the Chromebook is playing, or both together. Device audio is available on newer Chromebooks, roughly those running ChromeOS 124 or later.
Can I pause a screen recording on a Chromebook?
No, the built-in recorder has no pause button. The only controls are start and stop, and stopping ends the file. If you make a mistake halfway through, you need to record again from the beginning. This is the main reason to plan a recording and do a short test first.
How do I record a GIF on a Chromebook?
Use the built-in recorder in partial screen mode. Press Shift + Ctrl + Show Windows, click the video camera icon, choose partial screen, drag a box around the area, choose the GIF option in the toolbar, and click Record. GIF recording only works in partial screen mode, and it has no sound, so keep the clip to a few seconds.
Why is screen recording not working on my school Chromebook?
On a school or work Chromebook, the administrator can block screenshots and recording with a device policy. If the record button is missing or greyed out, or the Screencast app is not in the launcher, the device is likely managed and recording is disabled. Only an administrator can change that setting, so ask your school or workplace IT support.